
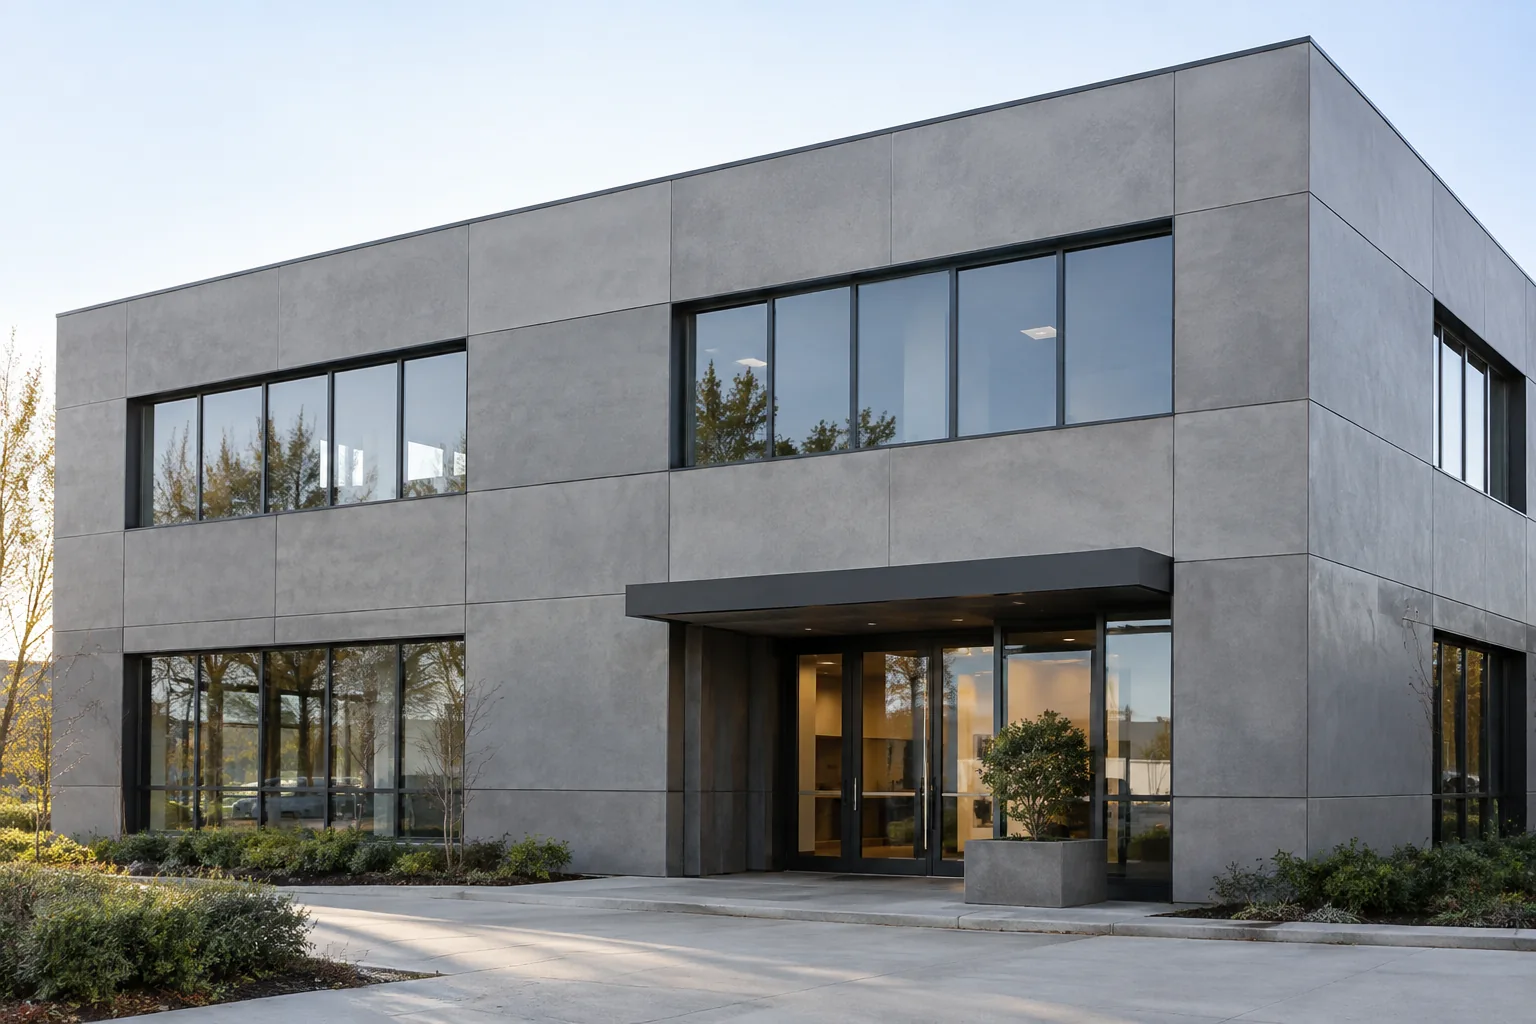
Fiber cement cladding can provide the visible face of a rainscreen wall, but the window interface still needs a coordinated water-management detail. For overseas B2B buyers, an attractive elevation drawing is not enough to release panels, flashings and window packages for production.
This guide sets out seven window flashing checks for architects, facade contractors and procurement teams. It concentrates on the junction between the opening and the cladding, rather than repeating panel cut-list or movement-joint design. Use it as a submittal and inspection checklist, not as a construction detail: the selected system instructions, project engineer’s design and applicable local requirements govern.
Understand the Fiber Cement Cladding Window Interface
Distinguish the outer panel, the drainage space and the wall’s water-control layer. A water-resistive barrier behind the cladding must connect with the opening flashings so water can return outside. Building Science Corporation explains this continuity in its drainage-plane guidance. Buying a moisture-resistant board does not, by itself, resolve that junction.
Start your material comparison with our Exterior Cladding Systems product page. Then review the proposed board alongside the window, membrane, support and flashing details, rather than treating the board specification as approval of the complete facade.
Seven Checks Before Releasing the Window and Panel Packages
1. Assign one coordinated interface drawing
Request a drawing that identifies the window supplier, board grade, support arrangement and water-control layer. Include separate head, jamb and sill sections, plus a corner view where the relationships are otherwise unclear. Mark the revision used for pricing and fabrication.
Assign responsibility for each transition. A useful procurement question is: who checks the connection between the window supplier’s detail and the facade contractor’s detail? Record the answer before placing orders for custom trims. Two individually approved products can still leave an unresolved interface.
2. Freeze the window position and dimensional references
State whether the window sits flush with the panel face, recessed behind it or in another approved position. Record the reference plane used for reveal depth and the dimensions of the rough opening, frame and finished panel aperture. Do not let different subcontractors measure from different surfaces.
List installation tolerances separately from nominal dimensions. Release the opening schedule, panel schedule and flashing schedule under the same revision. For fabrication coordination, use our existing fiber cement cladding cut-list planning guide; this window review supplements, rather than replaces, that schedule.
3. Trace the sill drainage route and end conditions
For a drained opening, check how a sill pan collects incidental water and discharges it outside. Review corners, side containment and the connection to the drainage plane below. Avoid an arrangement that sends collected water behind that plane or blocks its intended outlet. These principles are explained in Building Science Corporation’s pan-flashing guidance.
Inspect both ends of the sill, not only the central section. As a system-specific example, the recessed-window section in the EQUITONE specifier design guide discusses sill-end returns behind the panel or reveal flashing. That illustrates the need to resolve end conditions; it does not establish dimensions or approval for a different supplier’s assembly.
4. Confirm the head and jamb installation sequence
Ask the design team to identify which component must be installed first and which connections must remain accessible for inspection. Show how the approved head and jamb flashings connect to the water-control layer. A finished elevation cannot communicate concealed overlaps reliably.
Include a hold point before panels hide these connections. The inspection record should identify the opening number, drawing revision and photographs required. If one trade changes its installation sequence, obtain a coordinated revision rather than allowing the next trade to improvise a repair.
5. Separate drainage clearances from movement allowances
Put the required panel-to-flashing clearance, ventilation provisions and support limits on the approved detail. Do not choose one generic gap for all three purposes. For example, James Hardie’s architectural-panel guidance directs installers to the relevant instructions for clearances, flashings and window installation; those product-specific instructions cannot simply be transferred to another board.
Also review the opening against the project’s fiber cement cladding movement-joint strategy. Where drainage and movement requirements appear to conflict, raise a technical query before fabrication rather than reducing a clearance on site.
6. Procure compatible accessories, not just matching colors
Send the proposed flashing material, finish, tape, primer, sealant and substrate list to the relevant system suppliers for compatibility review. Request the applicable preparation and installation instructions, and record any restrictions that affect purchasing or storage.
Define package boundaries in the quotation: who supplies corner pieces, membranes, backing materials, special trims and replacement accessories? Require approval of substitutions. A visually similar accessory should not enter the order merely because its color matches the panel sample.
7. Agree a representative mock-up and acceptance plan
Ask the project team to select a mock-up that includes an actual opening type and the transitions needing approval. Record the installed component references, inspection stages, acceptance authority and process for closing defects before repeating the detail across the building.
If field water testing is specified, the consultant must select a method and acceptance conditions appropriate to the assembly. ASTM E1105 addresses water penetration of installed windows, skylights, doors and curtain walls under specified air-pressure conditions. Its title is not evidence that a fiber cement panel, or every facade arrangement, has passed a water test. Do not invent a test pressure or treat an informal hose check as an equivalent result.
Technical Information to Put in the RFQ
The following is a coordination schedule to complete, not a set of default construction values. Ask the responsible designer or system supplier to supply the entries and identify the approval document.
On smaller screens, swipe the table horizontally to view all columns.
| Parameter | Value or unit to record | Evidence to request |
|---|---|---|
| Board and opening geometry | Grade, thickness, panel aperture and reveal depth in mm | Coordinated opening and panel drawings |
| Flashing configuration | Material, finish, dimensions and end treatment | Approved fabrication detail and component reference |
| Clearances and drainage | Specified gaps in mm and identified discharge route | Selected-system detail, including inspection access |
| Tapes and sealants | Exact product, substrate and preparation requirements | Supplier compatibility confirmation and instructions |
| Mock-up and testing | Assembly reference, method, pressure in Pa where applicable, and acceptance criteria | Consultant-approved inspection and test plan |
Compare the board options in our Exterior Cladding Systems category and request the relevant product documentation through our Technical Documents page. Keep board supply, accessory supply, design approval and installation responsibilities explicit in the purchase order.
Frequently Asked Questions
Does fiber cement cladding replace the weather barrier?
Not automatically. In a drained rainscreen arrangement, the panel and the water-control layer have different functions. Follow the approved complete-wall design rather than assuming a board’s moisture performance makes the wall watertight.
Should every gap around a window be filled with sealant?
No blanket rule is appropriate. Follow the selected window and facade details: specified weather seals, air seals, drainage outlets and ventilation openings serve different purposes. Do not block an intended drainage outlet while trying to improve the visible finish.
What is the correct sill projection or panel clearance?
It depends on the selected system, opening geometry, exposure and project requirements. Ask for approved dimensions on the interface drawing. This checklist intentionally does not prescribe a universal projection, cavity depth or joint width.
Does a board test report approve the window interface?
No. Review what the report actually tested. Material properties do not establish the performance of the assembled window-to-wall junction. Obtain the project-specific drawings, inspection records and assembly testing where required.
Prepare a Coordinated Cladding Enquiry
Send Mainland your board specification, opening schedule, finish requirements, quantity and destination. Identify which accessories and documents you want included in the quotation. Resolve outstanding interface questions with the responsible designer before releasing cut panels or custom flashings for manufacture.