
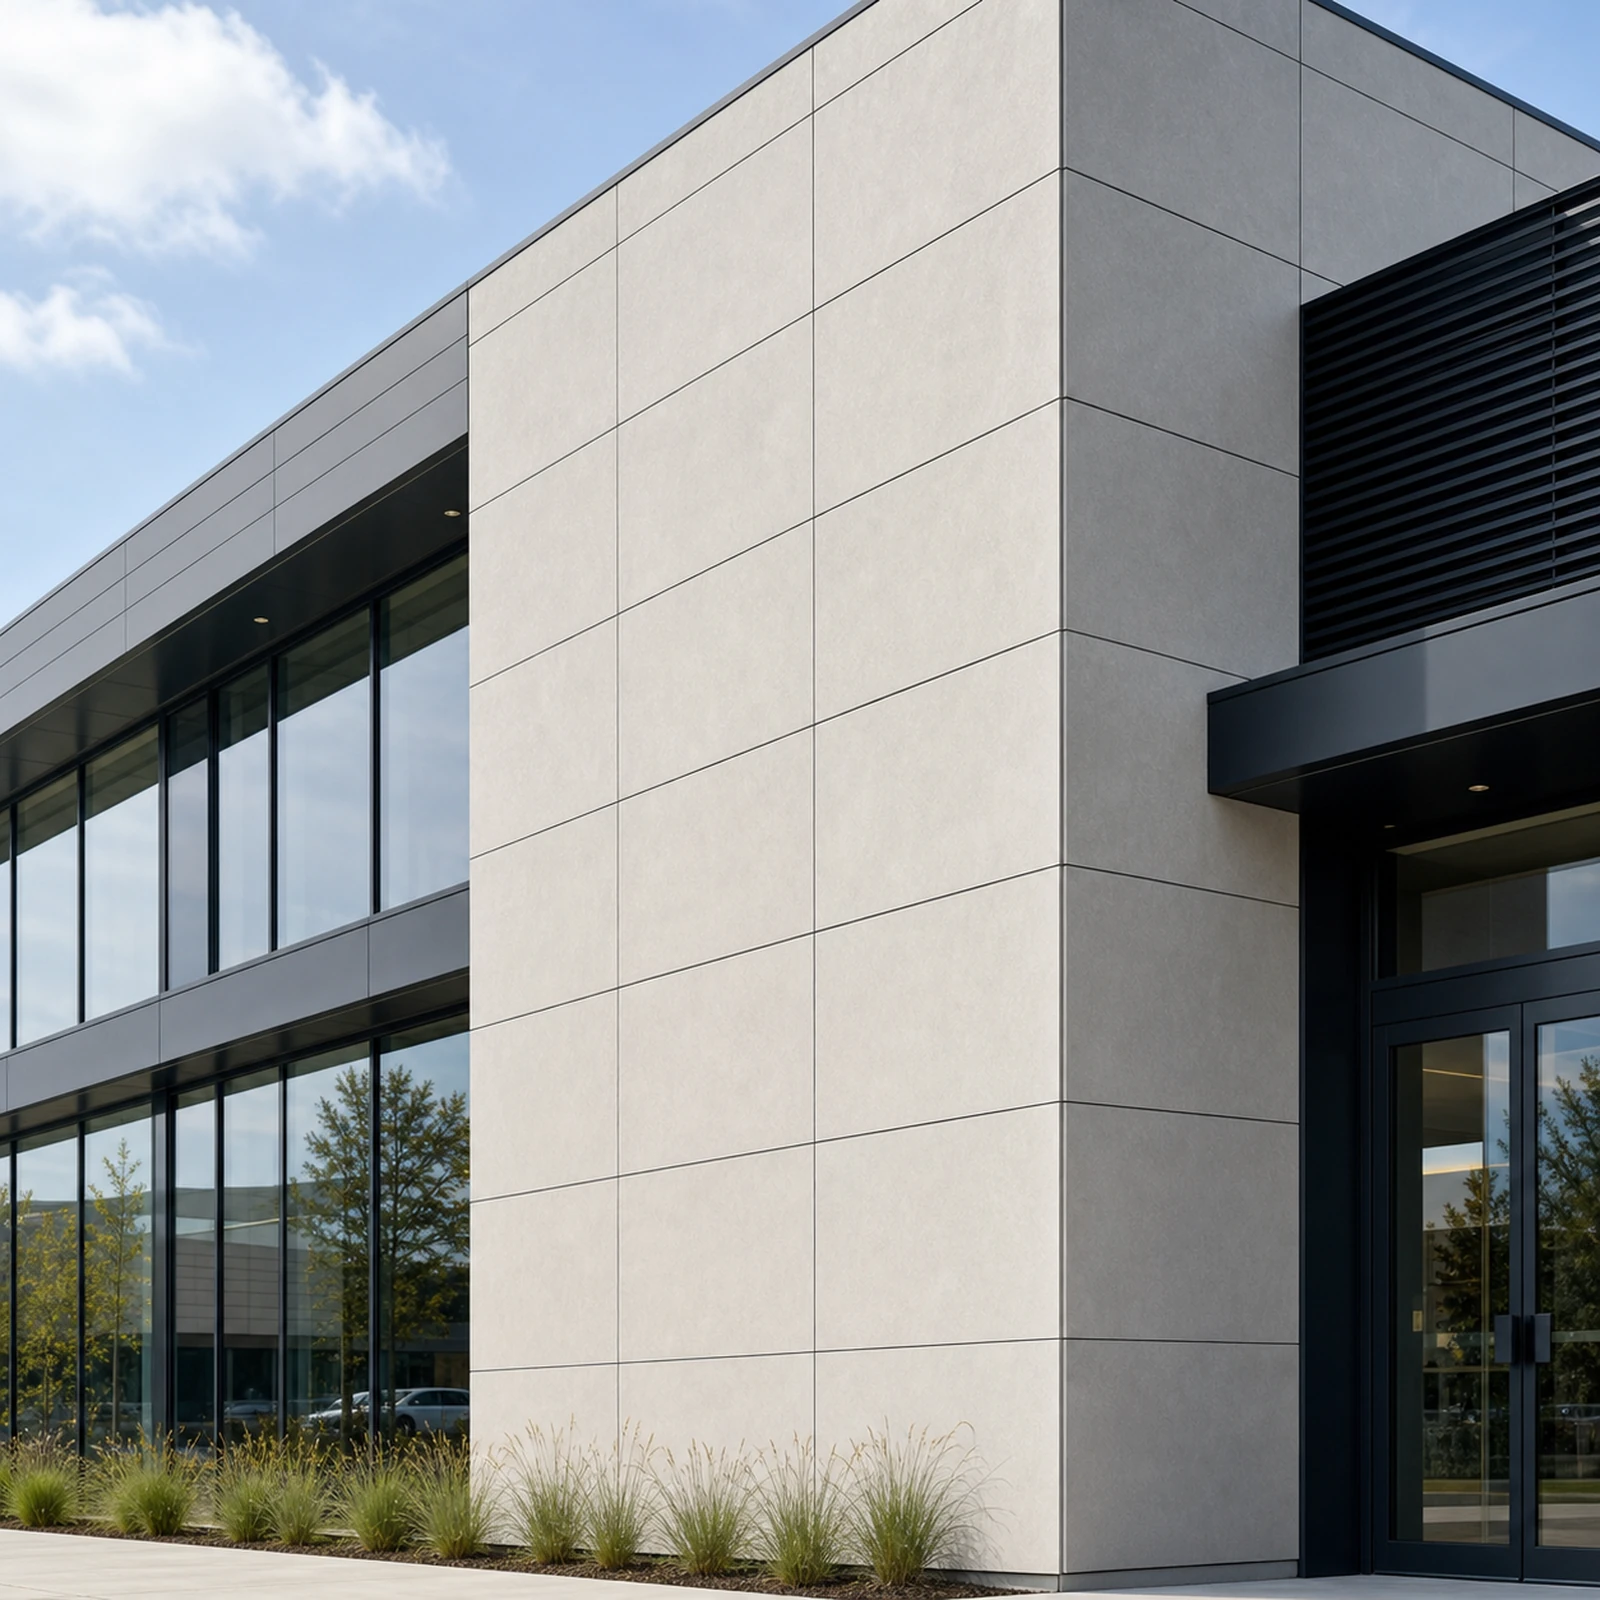
Fiber cement cladding is often selected for its durability and relatively low maintenance requirements. However, low maintenance does not mean no maintenance. Long-term facade performance still depends on regular inspection, suitable cleaning methods, functioning joints and flashings, and prompt investigation of local damage.
This practical fiber cement cladding maintenance guide is written for architects, contractors, building owners and B2B procurement teams. It explains what should be included in handover documents, what to inspect during service life, and how to plan repairs without creating new moisture or appearance problems. Product-specific instructions and local regulations always take priority over general guidance.
1. Define the maintenance strategy during specification
Maintenance planning should begin before the panels are ordered. The specification should identify the panel type, coating or finish, joint system, subframe material, fasteners, sealants, flashings and weather-resistive barrier. These components age differently and may require separate inspection or replacement procedures.
Ask the facade supplier for current cleaning instructions, repair recommendations, touch-up limitations and replacement-panel procedures. A general product brochure is not a maintenance manual. The handover package should relate to the exact product, colour, finish and fixing system installed on the building.
For available board formats and facade applications, review our exterior cladding systems product page.
Minimum information for the maintenance file
- Approved product data and final finish schedule
- As-built elevations and panel identification codes
- Joint, corner, opening, base and parapet details
- Fastener, rail, bracket and sealant specifications
- Cleaning products and methods approved by the manufacturer
- Access restrictions and safe working requirements
- Records of spare panels and their storage location
2. Complete a documented handover inspection
A detailed handover inspection provides the baseline for future maintenance. Record representative elevations and critical details with dated photographs. Note accepted colour variation, visible fastener patterns, joint widths and any minor defects that have been formally accepted. This prevents normal product characteristics from being mistaken for later deterioration.
Inspect panel edges, corners, cut-outs and fixing points for cracking or chipping. Check that joints remain open where ventilation and drainage are required, and verify that sealants or joint profiles are continuous where a closed-joint design is specified. Confirm that flashings discharge water away from the wall and that cavity openings are not blocked by debris, sealant or insulation.
| Handover item | What to record | Why it matters |
|---|---|---|
| Panel appearance | Colour, texture, gloss and accepted variation | Creates a comparison baseline |
| Joints | Width, alignment, profiles and sealant condition | Supports movement and water management |
| Fixings | Type, position, head alignment and finish | Helps identify movement or corrosion later |
| Flashings | Falls, laps, end dams and discharge points | Confirms drainage paths are complete |
| Spare stock | Batch, colour, dimensions and storage conditions | Simplifies future replacement |
3. Set inspection frequency according to exposure and risk
There is no single inspection interval suitable for every building. Frequency should reflect building height, access, climate, coastal or industrial exposure, surrounding vegetation, pollution, facade orientation and the consequences of failure. Storms, nearby construction, impact events and leaks inside the building may justify additional inspections.
High-risk areas deserve closer attention. These include parapets, corners, podium levels, loading zones, locations near exhaust outlets, interfaces with roofs and balconies, and areas below overflowing gutters. Tall buildings may require specialist access and inspection planning, while low-rise projects may allow safe visual checks from ground level and accessible roofs.
Use a condition-based inspection checklist
- Loose, displaced, cracked or impact-damaged panels
- Fasteners that appear loose, corroded or incorrectly seated
- Joint sealant cracking, loss of adhesion or hardening
- Blocked drainage or ventilation openings
- Staining below flashings, joints, penetrations or roof edges
- Coating chalking, peeling, blistering or unusual fading
- Biological growth in persistently damp or shaded areas
- Damage from signs, lighting, cables or later facade penetrations
4. Clean panels without damaging the surface
Cleaning should remove contaminants while preserving the coating, texture and joint components. Start with the mildest method approved for the installed finish. Test the proposed cleaner, concentration, water pressure and tools on a small inconspicuous area before treating a full elevation.
Avoid aggressive abrasives, metal brushes and unapproved acidic or alkaline chemicals. High-pressure washing can force water through joints, damage coatings or disturb sealants if used incorrectly. Work from clean areas toward dirty areas, manage runoff, and prevent cleaning chemicals from drying on the surface.
Different stains require different responses. Dust and general atmospheric dirt may respond to mild detergent and low-pressure rinsing. Organic growth requires a compatible treatment and investigation of the moisture source. Rust staining may indicate nearby metal corrosion rather than a panel defect. Always identify the source before selecting a cleaning process.
5. Keep joints, flashings and drainage paths functional
The visible panel is only one part of the wall. Ventilated rainscreen systems rely on a cavity, weather-resistive layer, flashings and drainage openings. Closed-joint systems also depend on correctly designed profiles or sealants. Maintenance teams should therefore inspect the interfaces, not only the panel faces.
Do not seal open joints simply because a small amount of rain enters the cavity. In an open-jointed rainscreen, controlled water entry and drainage may be part of the design. Adding unplanned sealant can block ventilation, restrict movement and redirect water into vulnerable locations. For system principles, see our guide to fiber cement cladding for ventilated rainscreen facades.
Where sealant is part of the approved design, check adhesion to both sides, surface cracking, hardening, staining and loss of elasticity. Replacement sealant must be compatible with the panel finish, backing material and adjacent components. Remove failed material and prepare joints according to the sealant supplier’s instructions.
6. Investigate the cause of cracks, stains and movement
Visible damage is evidence, not a diagnosis. A cracked corner may result from impact, an insufficient edge distance, an over-tightened fixing, restrained movement or a misaligned subframe. Replacing the panel without correcting the cause can lead to repeat failure.
Staining also needs investigation. Track the pattern back to roof drainage, parapets, window flashings, metal components, sealant runoff or pollution sources. Water marks that repeatedly appear after rain may indicate a failed interface behind the cladding. In such cases, cleaning the face alone only hides the symptom temporarily.
| Observed condition | Possible causes to investigate | Next action |
|---|---|---|
| Crack from a fixing point | Over-tightening, restricted movement, hole or edge detail | Review the approved fixing method before replacement |
| Repeated dark staining | Poor drainage, leaking flashing, trapped moisture | Trace and correct the water source |
| Uneven joints | Rail movement, installation tolerance, panel displacement | Check the supporting system and fixings |
| Local coating damage | Impact, abrasion, incompatible cleaner | Confirm an approved repair or replacement method |
| Corroded fastener heads | Incorrect material, coating damage, aggressive exposure | Assess all similar fixings and compatibility |
7. Plan panel repair and replacement as system work
Local touch-up can be suitable for minor coating damage only when the finish manufacturer provides an approved method. Large repairs may remain visually obvious because of weathering, gloss or texture differences. When appearance is important, panel replacement may provide a more predictable result.
Before removing a panel, identify concealed fasteners, joint profiles, cavity barriers and nearby flashings. Protect the weather-resistive layer and insulation. Replacement fasteners must match the approved material, dimensions and grip range. Do not reuse damaged fasteners or create extra holes without engineering review.
Replacement panels from a new production batch can differ slightly in colour from weathered panels. Compare a sample at the building under representative daylight. On prominent elevations, the design team may choose a planned replacement area rather than one isolated panel. Our article on controlling fiber cement cladding colour variation explains how samples, batches and viewing conditions should be coordinated.
8. Maintain records, spare panels and clear responsibility
Every inspection, cleaning campaign and repair should be recorded. Include the date, elevation, observed condition, photographs, investigation findings, materials used and responsible contractor. Good records show whether a problem is isolated, recurring or spreading across similar details.
Store spare panels flat, dry, supported and protected from contamination or edge damage. Retain labels that identify the product, colour, finish, thickness and batch. If no suitable spares remain, provide the supplier with the original order data and a current sample rather than relying only on a colour name.
Responsibility should also be explicit. Building managers can organize routine visual checks, but work at height, structural concerns, concealed water entry and widespread fixing problems require qualified facade professionals. Product suppliers can provide current technical information, while the project designer or facade engineer should approve changes to the original system.
B2B maintenance planning checklist
- Obtain product-specific cleaning and repair instructions before handover.
- Record an as-built photographic baseline for every elevation.
- Set inspection priorities according to exposure, access and consequence.
- Test cleaning methods on a small area before full application.
- Investigate the root cause of cracks, stains and movement.
- Protect cavity components and weather barriers during replacement.
- Keep labelled spare panels under suitable storage conditions.
- Record all work and involve qualified specialists when required.
Buyers planning a facade package can compare our exterior cladding product category. For project-specific board sizes, finishes, packing and documentation, send us your facade schedule and destination requirements.
Frequently asked questions
How often should fiber cement cladding be inspected?
The interval should be set by the building’s exposure, height, access, facade design and local requirements. Additional checks are appropriate after severe weather, impact, nearby construction or evidence of internal leakage.
Can fiber cement cladding be pressure washed?
Only when the installed product’s cleaning guidance permits it and the pressure, distance, nozzle and direction are controlled. Excessive pressure can damage coatings, sealants or joints and may force water behind the cladding.
Should open facade joints be filled with sealant?
Not unless the approved design requires it. Open joints may be intentional parts of a drained and ventilated rainscreen. Unplanned sealant can restrict movement and block drainage or ventilation.
Can a damaged panel be repaired instead of replaced?
Minor surface damage may have an approved touch-up method, but cracks, broken edges, displaced panels or extensive coating damage usually require technical assessment. Correct the cause before deciding on repair or replacement.
Why can a replacement panel look different?
The original facade may have weathered, and a later batch may show normal colour or gloss variation. Compare samples under representative daylight and agree on the replacement area before installation.